Creating Tax Classes, Tax Zones and Rates
- 08 Mar 2024
- 12 Minutes to read
- Print
- DarkLight
- PDF
Creating Tax Classes, Tax Zones and Rates
- Updated on 08 Mar 2024
- 12 Minutes to read
- Print
- DarkLight
- PDF
Article summary
Did you find this summary helpful?
Thank you for your feedback
Tax Classes
Tax classes are used within WineDirect as a fallback tax rate in case an Avalara or ShipCompliant integration is not active.
To view, add, or edit classes in WineDirect, go to Ecommerce > Settings > Setup > Tax > Basic Tax > Edit > Tax Classes

We've included some tax classes automatically. By default, WineDirect assigns all products to a single class, the default tax class.
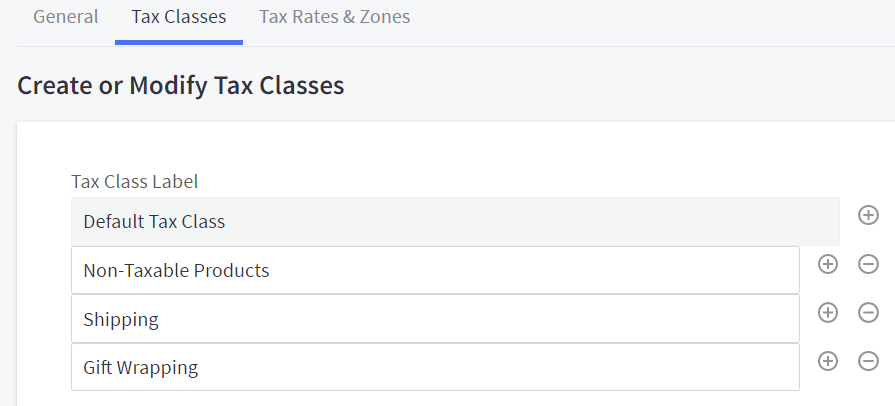
If you are selling products that require different tax rates, such as perishable and non-perishable goods, you can create those tax classes here.
To create a new tax class, click the + button. You can also delete tax classes by clicking the - button, but recommend keeping all tax classes and just assigning them a rate of 0% if you aren’t using them.
ASSIGNING TAX CLASSES TO PRODUCTS
Once the tax classes are created, you must update your products to indicate which tax class they belong to. For example, you would update your Event Ticket products to the “Non-Taxable Products” tax class.
Once a Tax class is created, it can be selected under Products > Add/edit product > Pricing > Tax settings > Tax Class.

SHIPPING AND GIFT WRAPPING TAX CLASSES
You will have a Shipping and a Gift Wrapping tax class by default. These are for merchants who must collect taxes on shipping or gift wrapping. Even if you are not collecting tax for these, do not delete them.
If you are not required to collect taxes on these, set the tax rate to 0% in all of your zones.
If you are required to collect taxes for either of them, you will set the rate as needed within the appropriate zone, just as you would a product tax class.
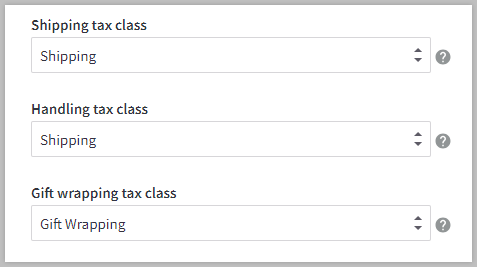
When editing your Tax Settings, there are fields for the Shipping, Handling, and Gift Wrapping tax classes. These should be set to their corresponding tax class. If they are set to something else, your shipping, handling, and gift-wrapping taxes will be charged at the rate specified for that other class.
Once you have set up your tax classes, they will appear in the tax zones you create in the next step.
Tax Zones
The regulations for taxes vary based on your geographic location.
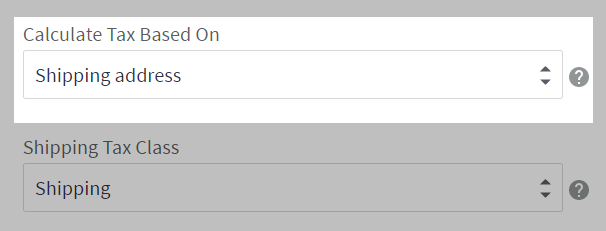
You will create one or more tax zones to charge different rates for different geographic locations. A tax zone specifies the geographical area where tax rates apply. You can set which address (billing, shipping, or business address) this zone should apply to in your tax settings.
Click Settings › Tax and Edit next to Basic Tax to view your tax zones. Then click to select the Tax Rates & Zones tab.
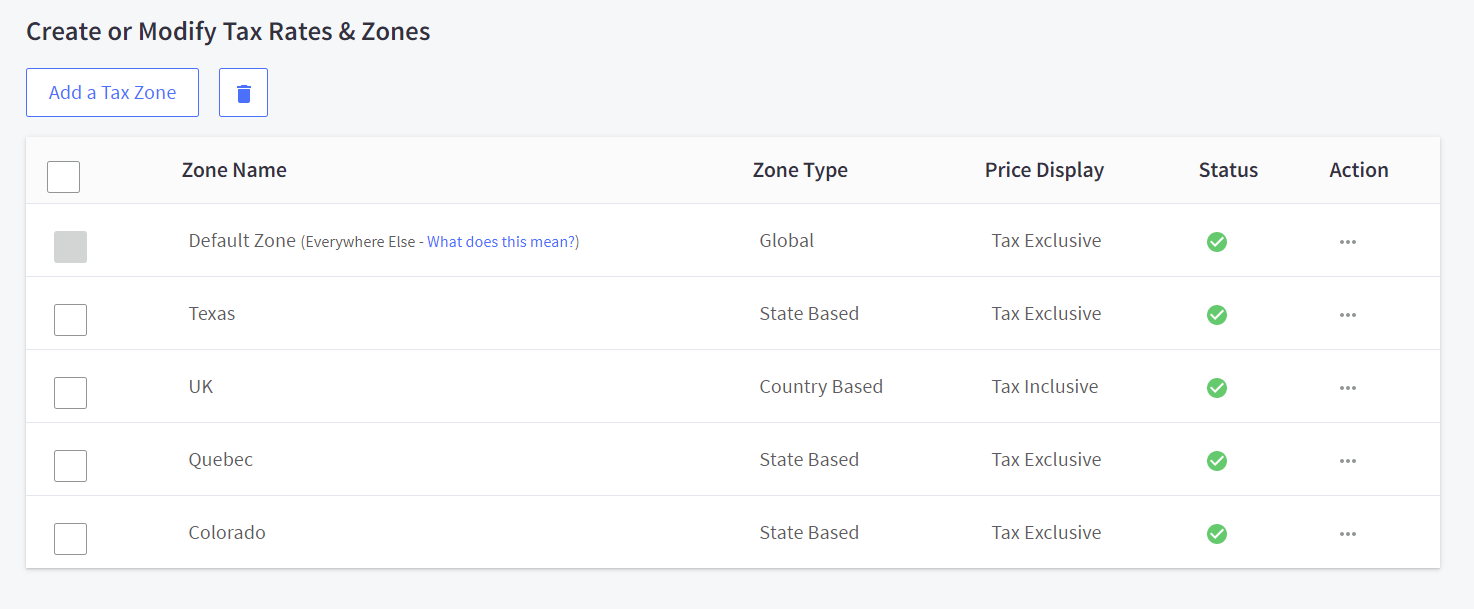
You will see any current tax zones and an overview of their settings:
- Zone Type — how the zone is defined. Zones can be Countryn country, state, zip/postcode.
- Price Display — whether the zone's price display setting is tax-inclusive or tax exclusive
- Status — whether the zone is currently active in the store or not
DEFAULT TAX ZONE
All stores contain a Default Tax Zone, which applies taxes to regions not set up in another zone. Do not set up tax rates in this zone. Unless you have nexus everywhere, you will want to keep this as an "everywhere I don't need to charge taxes in" zone.
ADDING ZONES
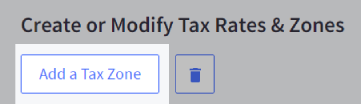
To add a new tax zone, click Add a Tax Zone.
Enter a Tax Zone Name and complete the other fields listed below. The tax zone name is an internal name that you can use to keep track of your zones.
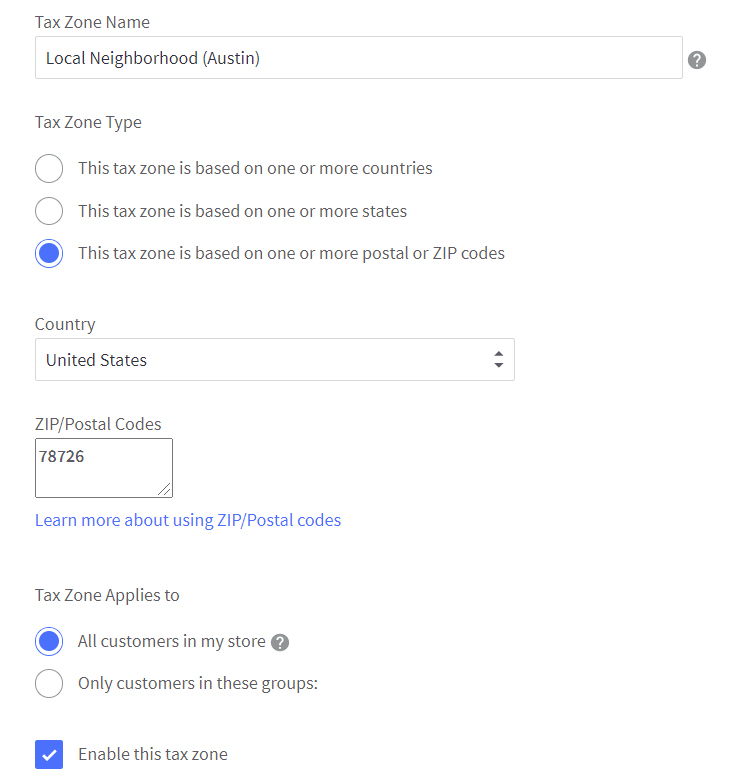
- Tax Zone Name — set the name of this tax zone. We recommend naming it after the geographic region it represents, such as Los Angeles, Denton County, California, or the USA.
- Tax Zone Type — select whether the zone represents a country, state, or collection of zip/postcodes. Zip/postcodes can be used together in a zone for city or county taxes.
- Tax Zone Applies to — if you want to limit this tax zone to certain customer groups, select Only customers in these groups, and then select the group(s) to assign it. Otherwise, keep this setting as All customers in my store.
- Enable this tax zone — toggle this checkbox to enable or disable the tax zone.
TAX ZONE DISPLAY SETTINGS
Are you using an automatic tax provider? Tax zone display settings configured here will still apply in your store if an automatic tax provider is enabled.
While editing a tax zone, you can configure how the pricing will display on your storefront.
Note that your product listing and detail pages will only reflect a tax zone's display settings if your default tax address is in that zone. If no default address is specified, the storefront will use the display settings in the default tax zone.
When a shopper enters their address, the prices displayed in the cart and checkout pages will use the display settings of the relevant tax zone. Product listing and detail pages will not update their tax display based on the shopper's address.

- How are prices displayed in your store — select to display prices as either inclusive or exclusive of tax.
- Show Prices both Including and Excluding Tax — select to display both inclusive and exclusive pricing on product listing pages (such as category and brand pages) and product detail pages (product pages). While this setting is optional, it can be valuable for pricing transparency to shoppers.
Once you've modified the settings, click Save to add or update the tax zone.
Responsive Tax Display Settings — If you've selected to use tax zone display settings for "Show Prices on Invoices" in Tax Settings, order invoices will reflect the display settings for the tax zone that the customer falls under. Customers will see their invoices formatted to match the tax display on the cart and checkout. For example, a US customer will see prices exclusive of tax on invoices, whereas a UK customer will see prices inclusive of tax, provided that the store has these settings enabled in their respective tax zones.
EDITING AND COPYING ZONES
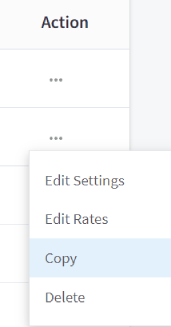
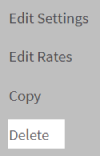
To edit a tax zone, click the Action icon next to the zone, then select Edit Settings. You can copy a tax zone and its rates by selecting Copy. This can be useful when setting up multiple tax zones that will be similar to each other.
DELETING ZONES
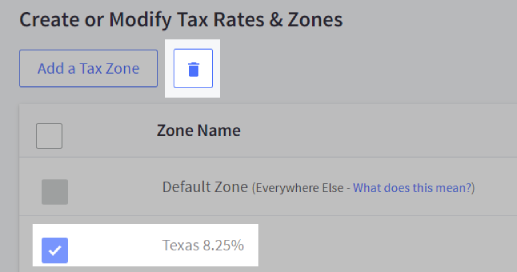
To delete tax zones, check the box next to its name, then click the Trash icon in the top navigation. Click OK to confirm, and the zones will be removed.
You can also select Delete from the Action menu. Note that the Default Zone — used for any location outside your tax zones — cannot be deleted from stores.
Tax Rates
Once a tax zone is created, you can add rates to it. Tax rates are the percentages at which products or services are taxed. You may charge multiple tax rates within a zone. For example, if you have a city zone, you may need to set up city-based and state-based tax rates.
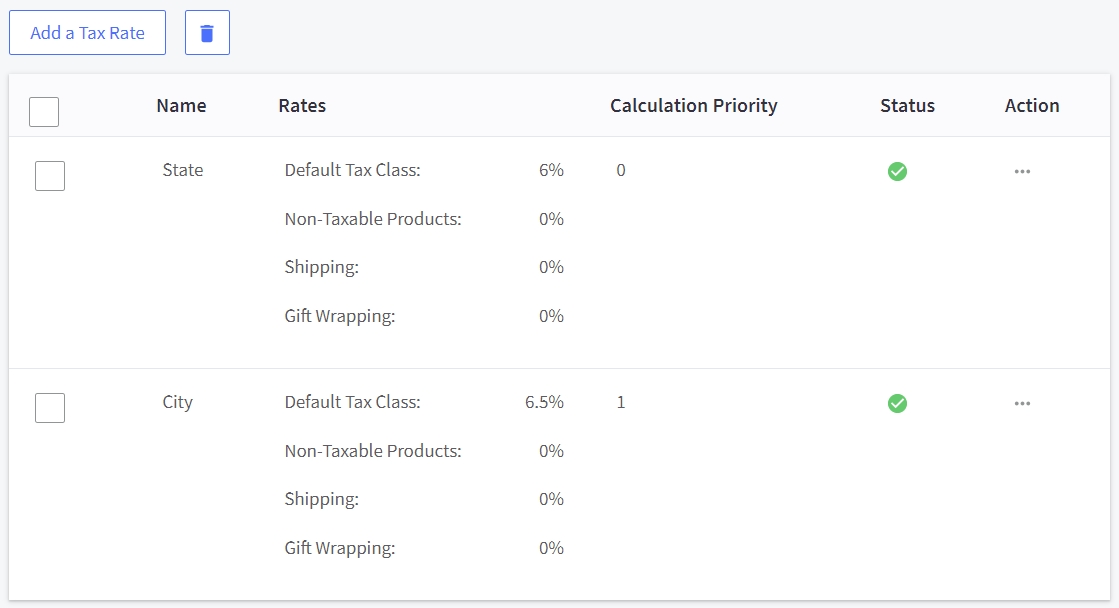
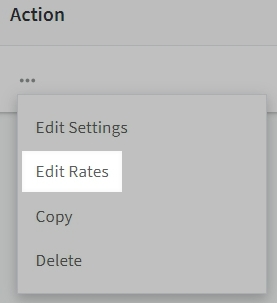
After creating a tax zone, click the Tax Rates tab to add, delete, or edit tax rates. You can also select Edit Rates next to a particular zone when viewing the list of tax zones.
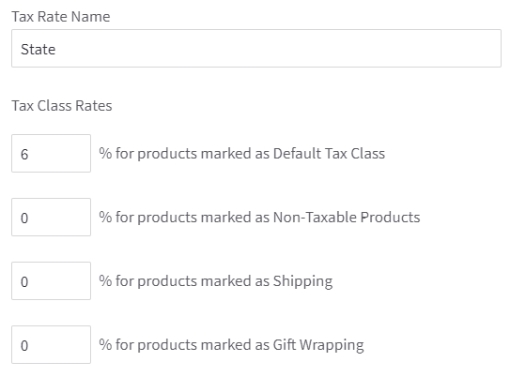
When adding or editing a rate, you must specify a name and enter a rate for each tax class. If you do not need to charge tax for a particular tax class, enter 0 for the rate. Name the tax rate representing which tax you charge, like City Tax or Federal Tax.
TAX CALCULATION PRIORITY
You must apply multiple rates to a single tax zone in some circumstances. For example, you may need to charge city, state, or provincial and federal sales taxes. You must set the Calculation Priority if you have a tax zone with more than one rate.
Tax rates in a zone with the same priority will be added together. Tax rates in a zone with different priorities will be compounded in order of priority, where the lowest number has the highest priority. So, for example, if you had to charge a GST rate on top of a PST rate, you would give PST a priority of 0 and GST a priority of 1.

Tax rates can be deleted using the same methods for deleting tax zones — by selecting the rate, then clicking the Trash icon in the top navigation, or by selecting Delete from the action menu.
Common Tax Situations
Below we've included a few examples of how to set up zones, classes, and rates for everyday situations.
STATE/PROVINCE WITH A SINGLE TAX RATE
First, we'll create a zone based on a state with a single tax rate. In our example, we're using Texas.
1. In the manual tax settings area, click the Tax Rates & Zones tab and Add a Tax Zone.
2. Name the "Texas" zone, then select This tax zone is based on one or more states.
3. Select United States in the Country box, then select Texas in the States box. Select Display prices exclusive of tax, as this is the normal expectation for US customers. Adjust any other settings to your preference, then click Save.
4. Once you've saved the new tax zone, click Add a Tax Rate on the Tax Rates tab.
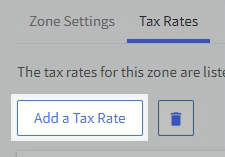
5. Name the tax rate, then type in the percentages for the appropriate tax classes. In this case, we want to charge tax only on products (not gift-wrapping or shipping), so we'll only put the 8.25 in that box and put 0 for the rest.
6. Save your changes. Your Texas zone is set up successfully.
STATE/PROVINCE WITH MULTIPLE TAX RATES
In our next example, we'll create a zone based on a province with multiple tax rates. In this example, we use Quebec, which has federal and provincial taxes.
1. In the manual tax settings area, click the Tax Rates & Zones tab and Add a Tax Zone.
2. Name the zone "Quebec," then select This tax zone is based on one or more states.
3. Select "Canada" as the CouCountryhen "Quebec" under States. Select Display prices exclusive of tax, as this is the normal expectation for Canadian customers. Adjust any other settings to your preference, then click Save.
4. Once you've saved the new tax zone, click Add a Tax Rate on the Tax Rates tab.
5. Give the tax an appropriate name. In our example, we're naming the federal tax rate "GST" (Goods and Services Tax). We only want to tax products, so only Default Tax Class will have a number other than 0.
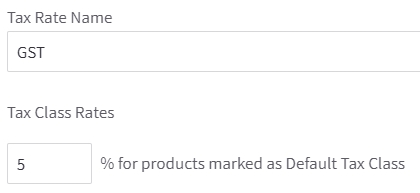
6. Leave the Calculation Priority set at 0, as we want this rate calculated first. Save your changes.
7. Click Add a Tax Rate to add a second tax rate for provincial taxes.
8. Name the tax appropriately, then enter the rate percentages. Our example names the local tax rate "QST" (Quebec Sales Tax).
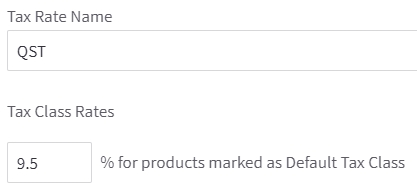
9. Change the Calculation Priority to 1 so it is calculated after the federal tax (GST). Save your changes. Your Quebec zone is now set up successfully.
ZONE-BASED ON ZIP/POSTAL CODES
Finally, we'll create a zone with a single tax rate based on zip codes. In this example, we're using Florida, which has different tax rates based on your location within the state. Even though we are only creating a 7.75% zone here, in practice, you'll want to create a zone for each rate.
1. In the manual tax settings area, click the Tax Rates & Zones tab, then click Add a Tax Zone.
2. Name the zone. In this example, it is named "Florida 7.75%". Select This tax zone is based on one or more postal or ZIP codes for the Tax Zone Type.
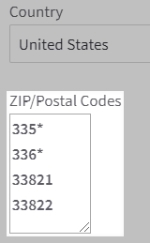
3. Select United States from the Country drop-down, then type in the zip codes that apply to your specified tax rate in the ZIP/Postal Codes box. Type each zip code on a new line, as illustrated below:
4. Select Display prices exclusive of tax, as this is the normal expectation for US customers. Adjust any other settings to your preference, then click Save.
5. Once you've saved the new tax zone, click Add a Tax Rate on the Tax Rates tab.
6. Give the tax an appropriate name. In our example, we're naming it "Florida 7.75% Zip Codes". Enter the percentages for each of the tax class rates. In this example, we'll enter 7.75 for the Default Tax Rate and 0 for all other classes. Leave the Calculation Priority set as 0.

7. Once finished, click Save. Your 7.75% Florida zone is set up successfully.
USING WILDCARDS
Does the ZIP/Postal Codes field support using the wildcards * and ?.
Using an asterisk (*) will capture all numbers from their position in the zip code to the right. For example, entering 335* will capture all zip codes ranging from 33500 through 33599.
Using a question mark (?) will capture numbers 0-9 only in the position where the question mark is placed. For example, entering 335? 1 will capture 33501 through 33591.
To capture all variations of a specific zip code, enter the base code on one line, then the base code with an asterisk on the next line, like so:
- 53927
- 53927*
- 53934
- 53934*
- 53910
- 53910*
FAQ
How many tax zones can I create?
There is no limit to the number of tax zones you can create in your store.
How many zip codes can I add to a tax zone?
The ZIP/Postal Codes field is limited to 200 characters. If you need to add more, we recommend creating additional tax zones.
Do I have to create zones everywhere I don't charge tax?
No. There is a zone called "Default Zone — Everywhere Else." Do not create tax rates for this zone. This ensures by default that anywhere you haven't set up a zone for will not be charged taxes.
How do I collect a combination of local, state, and federal tax rates?
You may need to charge additional rates for a local jurisdiction in addition to a county, state, provincial, or federal tax. However, an order will only be charged the rates of the zone it most closely corresponds to. In other words, if a customer's zip code matches your city zone, it will take the city zone rates but not your state zone rates, even if the city is within that state.
To charge a combination of city and state rates, you must set up all applicable rates within each zone. So if customers within a certain city need to be charged city and state rates, you will add both.
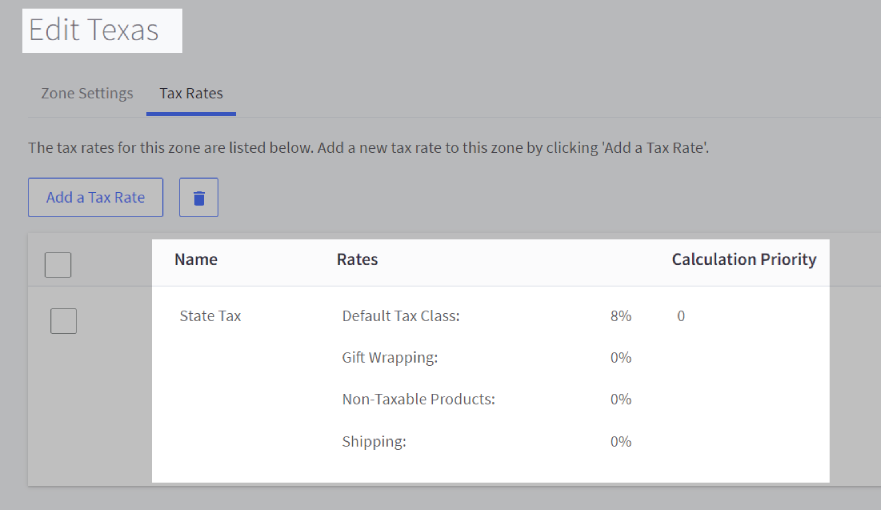
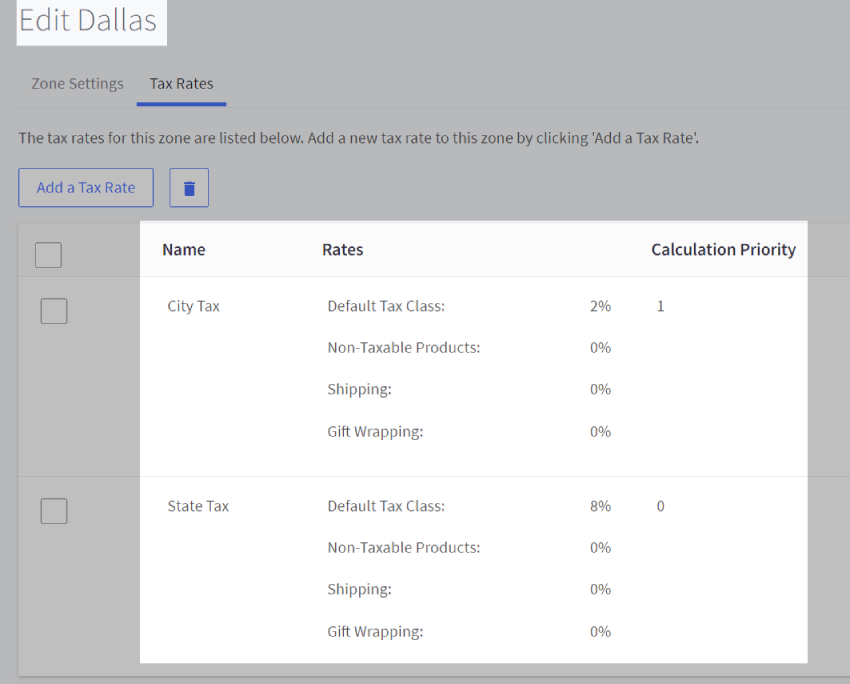
For example, if you are based in Dallas, Texas, and had to charge both city and state taxes, you would create the following zones and rates:
- Texas (zone)
- State tax (rate)
- Dallas (zone)
- State tax (rate)
- City tax (rate)
This way, a customer based in Texas outside of Dallas will be charged the Texas zone rates: a state tax. A customer based inside Dallas will be charged the Dallas zone rules: the state and city tax rates.
 |  |
Can I restore my manual tax setup to its original values?
This can be done from the General tab in the manual tax settings area. Click the Reset Configuration button to restore tax classes, rates, and zones to their default values.

My sales tax amount is off by a cent. Is something wrong?
Manual tax calculation is done at the item line level, and taxes are rounded to the nearest unit, such as cents. This can cause a discrepancy when compared to tax calculated at the subtotal level. See the example below.
| Amount | Tax Amount Before Rounding | Tax Amount After Rounding | Line Item + Tax Amount | ||
|---|---|---|---|---|---|
| Line Item 1 | $6.67 | 15% | $1.0005 | $1.00 | $7.67 |
| Line Item 2 | $1.99 | 15% | $0.2985 | $0.30 | $2.29 |
| Totals | $8.66 | $1.2990 | $1.30 | $9.96 |
In this example, the total tax amount applied to the order would be $1.30.
Was this article helpful?