- 03 Apr 2023
- 4 Minutes to read
- Print
- DarkLight
- PDF
Viewing Orders
- Updated on 03 Apr 2023
- 4 Minutes to read
- Print
- DarkLight
- PDF
You will access your orders and view their details in the view orders area. While managing your business, you will frequently work in this portion of the control panel. You will want to become familiar with its features and capabilities, such as viewing order details, accessing order timelines, capturing payments on authorized transactions, creating shipments, and processing refunds. Go to Orders > Views in the control panel to manage your orders.
The first thing you will notice is the tabs across the top. All Orders are selected by default. They provide a quick and easy way to find the orders you are looking for. They filter orders based on a specified order status or condition.
For example, if you only wanted to see newly paid orders that have yet to be processed, you would switch the View to Awaiting Fulfillment, which indicates the customer has checked out with a successful transaction.
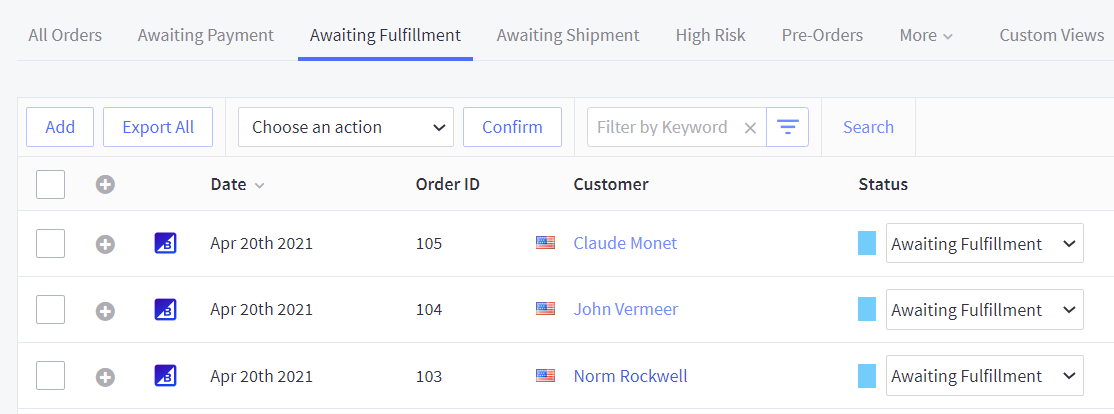
The More tab contains additional views for past or completed orders.
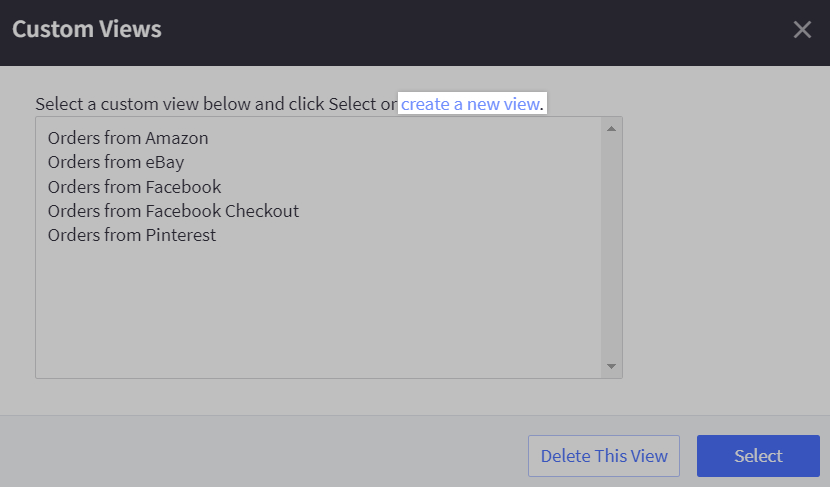
Custom Views: Keeping your orders organized for more effortless Fulfillment is critical to success, especially for stores with large order volumes. Custom Views allow you to sort your rankings in the following manners:
Go to Orders › View and select Custom Views. Click create a new view.
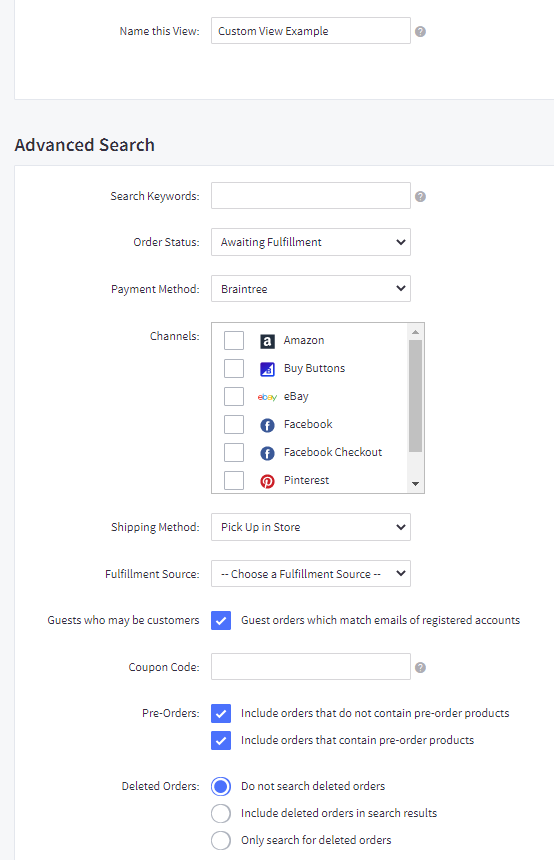
Fill out the form on the next screen to create your new idea.
You can search your orders using the Filter by Keyword or Search button.

Order Details
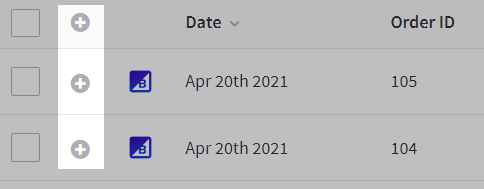
You can view the particulars of any order by clicking the + icon to the left, or you can expand the details for all orders on the page by clicking the + icon in the menu bar at the top.
The first column displays the order's billing information, the date/time the order was placed, IP address, order source (such as a storefront, manual ordering, or a channel like Facebook), the type of payment used, payment status, the transaction ID, and the tax method used (manual tax or an automatic tax provider).
The second column shows the order's shipping information, such as the shipping address, shipping zone (as determined by the Shipping Manager) and method, shipping cost, and the date the order was shipped, as defined by the Ship Items action. It will also show any custom account fields added to the checkout page. See Adding and Editing Fields in the Account Signup Form for more information. *The second column will be blank if the order contains only digital products.*
The third column features quantities, options, brands, charges, and other details about the items included in the order.

Specific payment gateways will create a clickable transaction ID for the order that will take you to your provider's dashboard. This allows for quick reconciliations by viewing the settled funds associated with your transactions against the payment receipts from your payment provider.
These payment gateways WineDirect recommends will create clickable transaction IDs for orders:
- PayPal powered by Braintree
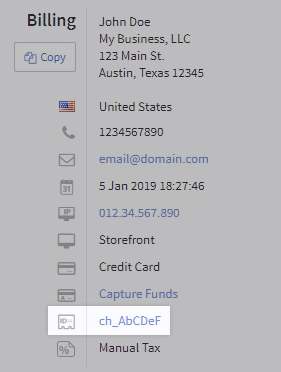
The customer's IP address is logged to determine where the order originated geographically. The charge is flagged as possibly fraudulent if an order's billing address does not match.

An icon to the left of each entry represents the source of the order. If you hover over these icons, you will see labels like Storefront, Instagram, Mobile Device, Manual Order, or Checkout API. A manual order means you created the order within your control panel. A checkout API order implies the order was made using the Checkout API, not the checkout flow on the storefront or via the control panel.
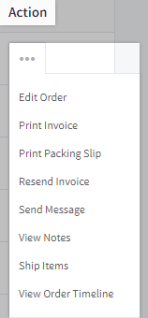
To the far right of each order, you will find actions allowing you to manipulate rankings.
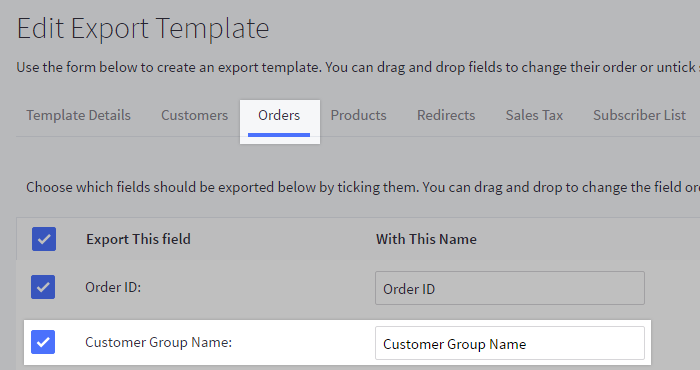
You can see the customer group of an order by performing an order export with a custom export template. This information helps determine the percentage of orders from a particular group. Enable the Customer Group Name field under the Orders tab while editing your custom export template to display this information in your CSV orders reports.
Changing Orders in Bulk
In addition to the action button, there is a "Choose an action" dropdown menu at the top of the order table. It allows you to apply specific actions in bulk to multiple orders, including some not available via the action button, like:
- capture funds for selected
- export selected
- archive selected
To apply for order status or perform an action in bulk, check the box to the left of each desired order, then select a step from the Choose an Action dropdown and click Confirm.

Viewing Orders with Specific Products
Sometimes you may want to locate which orders contain a specific product. This can be helpful when researching upcoming sales or promotions. You can find them in the Products portion of your control panel by going to Products › View. Locate the product you wish to research and click on Action › View Orders.

You'll be taken to the View Orders page, where only the orders containing that specific product are visible. You can view the order details or export the orders by selecting Export All.

Searching Orders
You can search your orders by going to Orders › View and entering your query, such as an order ID, product SKU or customer name, in the Filter by Keyword field, then clicking the filter icon. For more advanced search queries that let you search by a range of criteria, click the Search button or go to Orders › Search.


