The Email Documents section is where you will create and manage your email documents.
Use the steps below to create a new email document:
1. Go to Contacts > Email Documents.
2. Click Add An Email Document.
You will then be taken to the General Information section of the new Email you are creating.
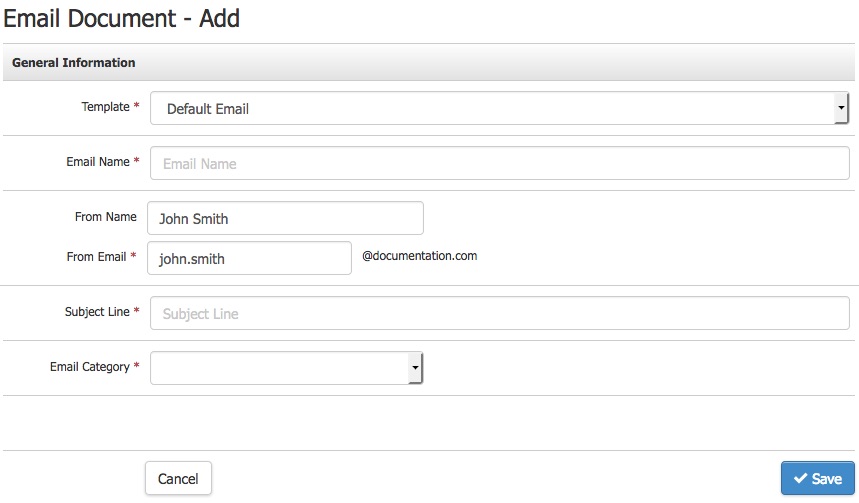
General Information
The General Information section is where you will control the essential information for your email document, such as the Subject, template, and sender information.
1. Select the Email Template you want to use for your new email document. There are three default email templates already set up that are utilized by system emails:
- Blank Email
- Default Email
- Default Email Error
- Default Email Success
Vin65 also has free responsive email templates for newsletters featuring wines and events. You can add these templates under Settings > Templates > Quick Setup; select which ones you want to add. (This will add them to the dropdown list when you create emails in the future.) Check back here for new email templates, as more will be released.
2. Enter the Email Name. This internal Name will not be visible in your customer's inbox.
3. Enter the sender's Name in From Name.
4, Enter the sender's email address in From Email. If you need to change the From Domain (@domainname.com), please reach out to support@winedirect.com
5. Enter the Subject Line for the Email Document
6. Enter the Email Category (i.e., folder) you want the Email to be a part of.
7. Click Save.
Content
1. Click Edit under the Content section of your Email.
2. Each content section will be layout and allow you to add or edit content in the preset fields built into the email template. The types of content sections available will vary depending on your selected email template.
3. Click Save.
Now your Email is ready to be sent. Once your document has been sent out, statistics around each send and the email conversion will be tracked and reported under Stats.
Stats
The stats section of the email document allows you to track the effectiveness of each email with statistics on both the sends themselves and the content within the Email. There are three sections of statistics that you can review: Total overall statistics for the document, statistics per end of the paper, and even per link statistics of the content within the document.
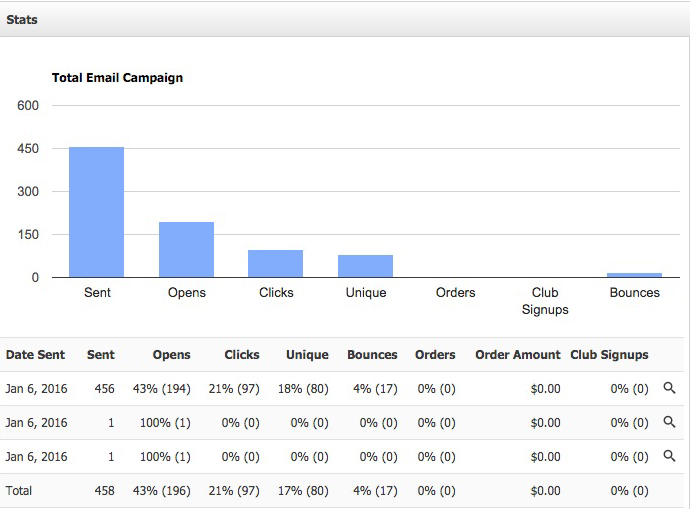
Overall Statistics
When you view a document, the main graph will give you combined total statistics for all the individual sends for the email document.
Per Send Statistics
By clicking on one of the individual emails sent from the send list, you can see statistics related to the number of emails in that single send.
Per Link Statistics
You can see the conversion statistics by clicking on an individual link within one of the Emails sent.
Stat Definitions
| Sent | Review the total number of emails sent in a single send for the email document. |
|---|---|
| Opens | Review the total number/percentage of emails that recipients opened. |
| Clicks | Review the total number/percentage of link clicks for the email content. |
| Unique | Review the number of recipients that clicks links. Recipients may click more than one link within the document, which would count as more fantastic clicks but only one unique click. |
| Orders | Review the total number/percentage of orders placed due to your email link. |
| Order Amount | Review the total dollar amount generated for each link in your Email. |
| Club Signups | Review the total number/percentage of club signups per Email sent and link in the email document. |
Send an Email Document
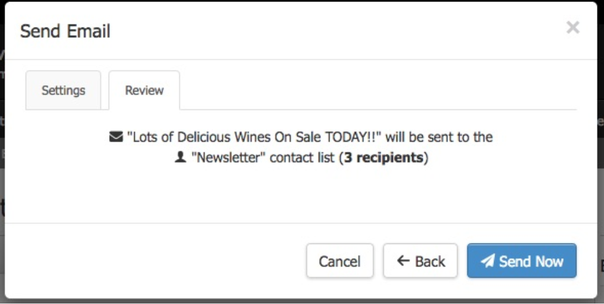
To send an Email Document, go to Contacts > Email Documents > Select the Document to Send > Click Send Email.
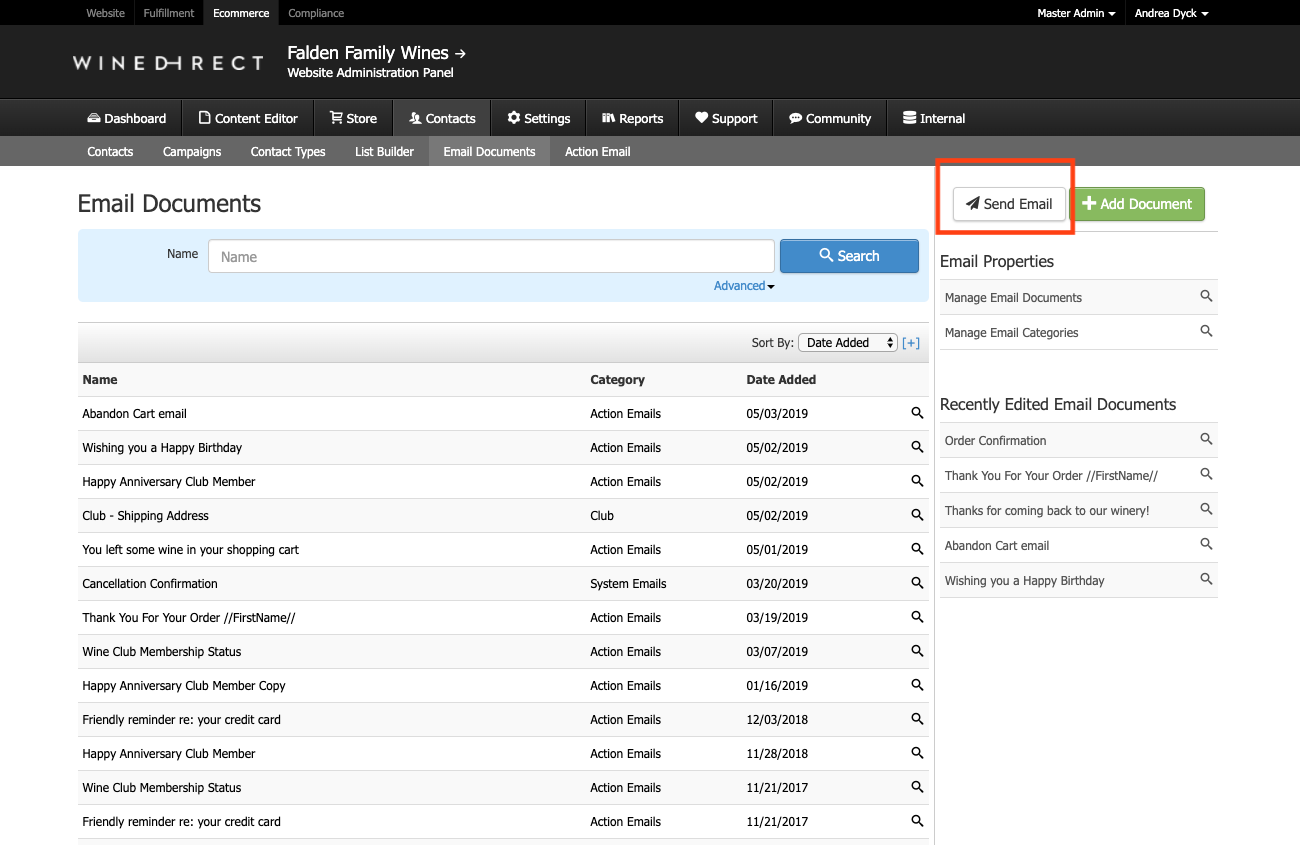
You will have the option to Send the Email Document to a Contact List or Individual Email Address.
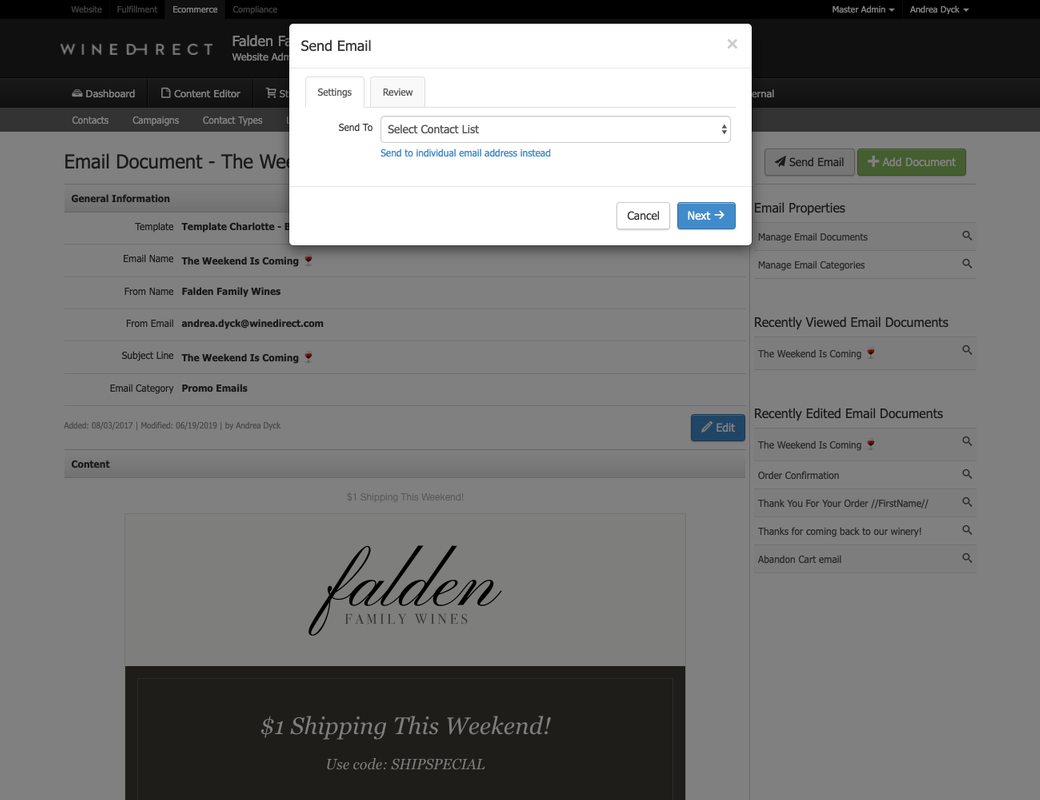
Once you select the recipients, you will be taken to the Review tab outlining who you are sending this Email to. If you are happy with the Review, click on Send Now.
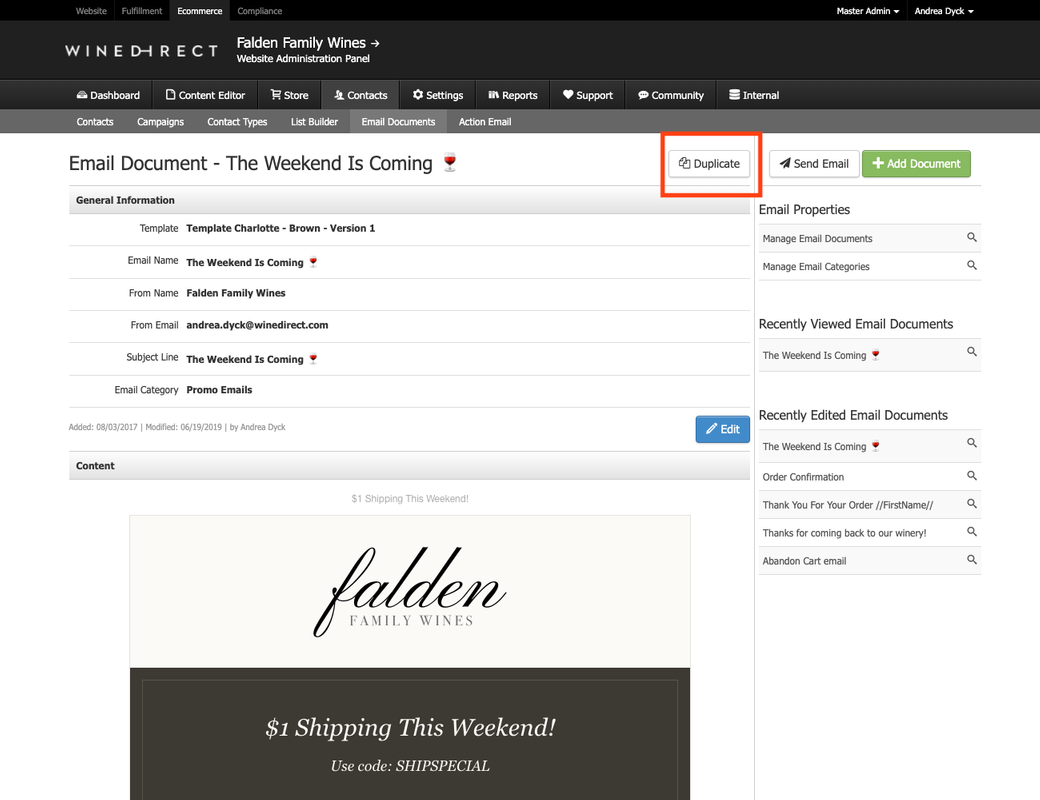
Duplicate an Email Document
To duplicate an existing Email Document, go to Contacts > Email Documents > Select the Document to Copy > Click Duplicate.
The following information will be copied over Email Template, Subject, Email From, Friendly Name, Email Category, and Content.
If you duplicate an Email Document, the new Email Document will have the same Subject but with "-Copy" added to it.
Quick Setup Templates
The Quick Setup options are found under Settings > Templates. Template Actions allows you to select and create several responsive email templates. This means that they will adjust and look great on all device sizes, whether you are viewing it on a desktop computer, tablet, or phone.
**Note that these are templates for email documents that you create, not the actual email documents. If you want to send an email, you will continue to go to Contacts > Email Documents > Add an Email Document.
1. Go to Settings > Templates > Template Actions > Quick Setup.
2. Check which template(s) you would like to add.

3. Click Setup
4. You will want to add any default content, such as a logo and address. Please note that you will still create emails under Contacts > Email Documents. This is the email template, not the actual Email. :) Any content you enter will be prefilled whenever you create an email document with this template selected.
You can remove the text if you don't want any default content to be prefilled.
Quick Template Options
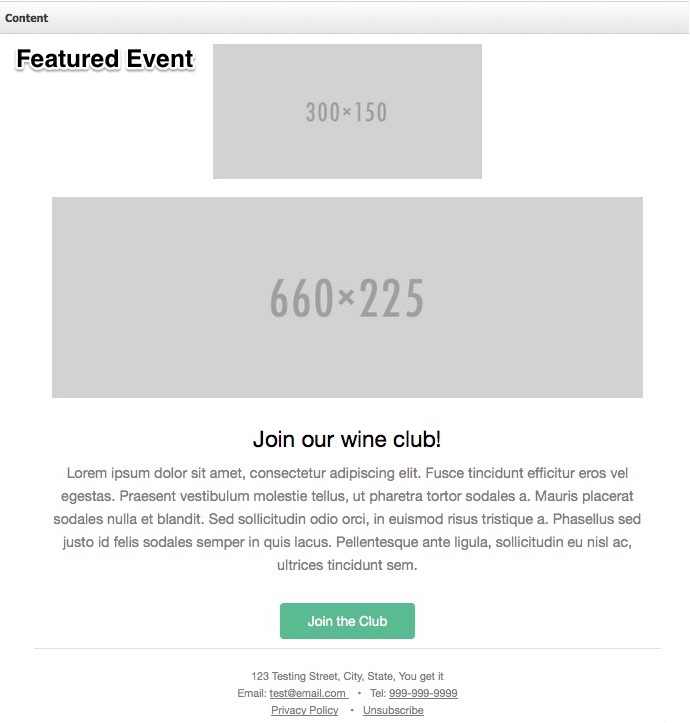
Featured Event - Use this template for wine pickup parties, new wine releases, winery events, concerts, club parties, and winemaker dinners. It features a full-width image (660x225), content, and a button, which is excellent for a single call to action.
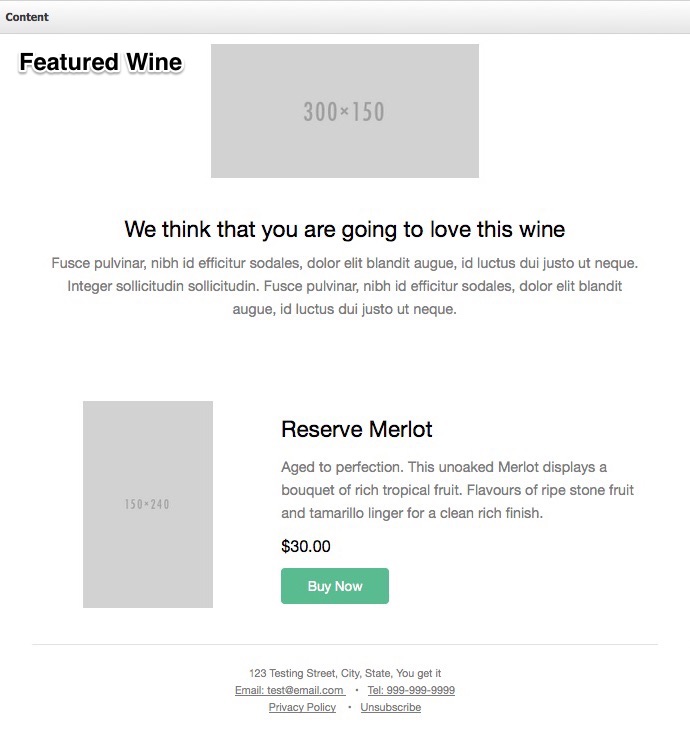
Featured Wine - Use this template for showcasing new releases, featured wines, promotions, and club-only releases.
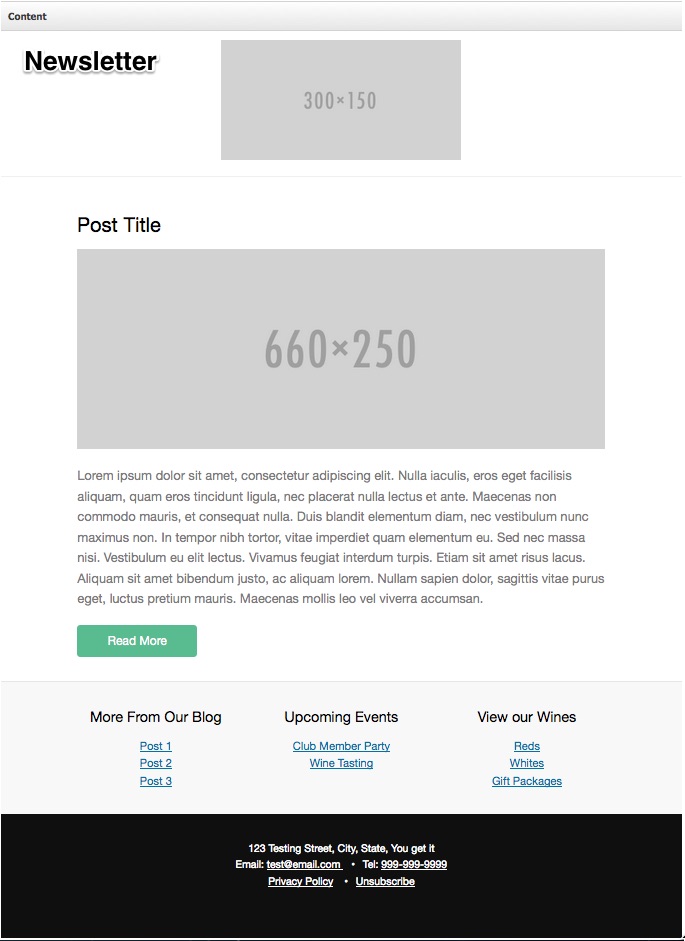
Newsletter - Use this template to keep people up to date with your winery's news, events, blog posts, etc. You can add a featured image and essential links for your customers to the footer.
Blank - When creating an email document, you can use this template to paste in the HTML from another email. This gives you complete control over customization without requiring your designer to create a custom email template under Settings > Templates. It only contains, by default, a section for content/HTML and footer links.
![]()
Email Documents FAQs
Can I create new email templates?
Yes. Designers and developers can create new email templates using the Templates section of the admin panel.
note that the admin user must be marked as Is Developer to access the Templates section.
What if I want an HTML content email like my old email templates?
When creating a new email document select the Blank Email template. This template does not contain a header image but does contain the footer with the mandatory unsubscribe and privacy policy links. You can use the Source button to copy the HTML content from one of your existing emails and use Source again to paste this into the body of the of an email document using the Blank Email template.
If your original email template included an unsubscribe and/or privacy policy link within the content you will want to remove this in favor of the unsubscribe links included in the footer.
How do the unsubscribe options work?
Templates will automatically contain a footer that includes that unsubscribe and privacy policy links that are required to send emails through SendGrid.
If I'm currently on V1 emails - can I get V2.1 emails turned on??
Absolutely! You just need to email support@winedirect.com and ask to have V2.1 emails turned on for your winery. Our support team will take you through the steps to get going with V2.1 emails.
I want to change the templates that my system emails use. Which ones should I modify?
For modifying system email templates, you will want to make changes to the "Default Email Success" and "Default Email Failure" templates. Be sure to test your system emails after you finish making your changes to the template!
I tried to delete my email document, but it says it's attached to a POS profile; what do I do?
Email documents that are assigned to one or more POS profile(s) cannot be deleted. An different email document must be assigned to the POS profile(s) under Settings > POS Profiles using the Order Confirmation Email drop down select.