Allocating Wine
- 29 Mar 2023
- 1 Minute to read
- Print
- DarkLight
- PDF
Allocating Wine
- Updated on 29 Mar 2023
- 1 Minute to read
- Print
- DarkLight
- PDF
Article summary
Did you find this summary helpful?
Thank you for your feedback!
To assign a wine as allocated, you will want to follow these steps:
1. Go to Store > Products
2. Select the Product that you wish to Allocate.
3. In this product, on the right-hand side, you will see Product Properties. Below it, select Manage Properties.
4. Here, click on Advanced and choose Is Allocated.
You will still want to make sure that the other general properties of the wine/product are set correctly. For the Products to display in your Allocations, it needs to be marked Is Active and Display On Website.

Allocated Message:
| Don't Display With Products. | This will allocate the wine but will not allow it to be visible to customers without access to the allocation through the store section. Allocated products marked "Don't Display With Products" must still be chosen to Display on the Website so that they can be purchased by your allocation members online. |
|---|---|
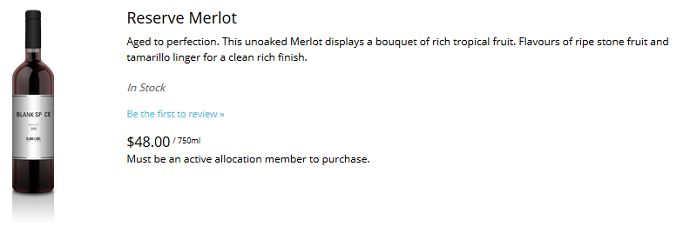
| Display Product. Show Message. | This will display the allocated wine in your store section, allowing customers to view the product page and build interest. In the message field, you can add text with a call to action to acquire the allocated wine. Examples: "Log in to Purchase" or "Club Members Only" |
If Display on Website is set to No, an "Error adding ProductSKU: YOURSKU# to cart. ProductSKU could not be found or is out of inventory" message will display when trying to purchase the allocated wine.
Was this article helpful?


