The WineDirect POS application uses all your existing products within the ecommerce platform. Products can easily be assigned to categories that display them on the POS app.
Adding POS Categories
The categories option allows you to create up to 12 different categories to assign your products and wines so you can find your products quicker. Follow these steps to add categories to your POS application:
1. Go to Store > Products > POS Categories.
2. Click on the green Add A POS Category button.
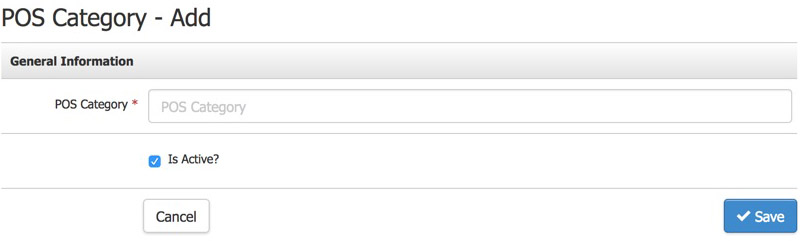
3. In the POS Category field, give your Category a name (i.e., Red Wines, Merlot, Events, etc.).
If you are setting up multiple tasting rooms, remember that Category names should be unique so as not to create confusion when assigning products to the categories. A suggestion for having similar category names for two locations would be to have an abbreviation or short name for the location - then the category name. Example: N - Home for the tasting room in Napa and V - Home for the tasting room in Vancouver.
4. Check the Is Active box to make the Category active.
5. Click Save.
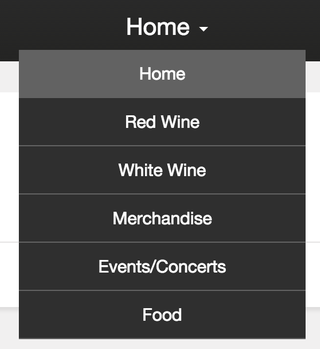
Assigning the classes to a POS Profile would be best to make the categories appear on your POS. Once the types have been linked to a profile, they will appear in a drop-down menu at the top of your POS screen.
Assign POS Categories to POS Profiles
Before your POS Categories appear in your POS Categories Menu, you must first assign the categories to a POS Profile.
1. Go to Store > Products > POS Categories and select the Category you want to assign to a profile.
2. Click Edit Under the POS Profiles section for the Category.
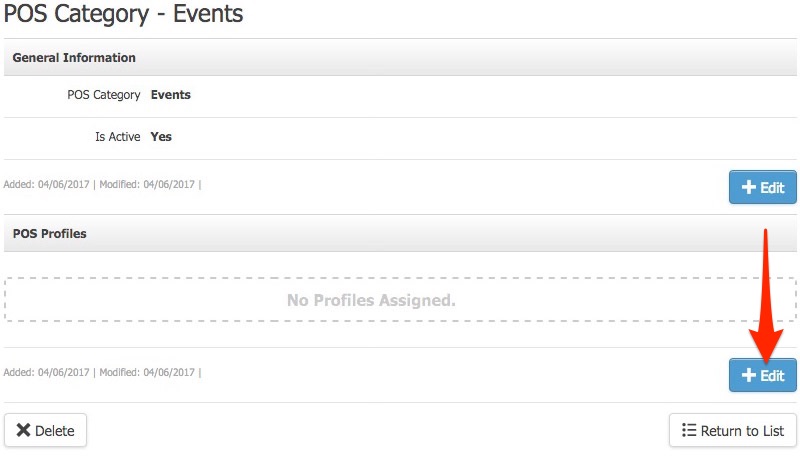
3. Check the box next to the POS Profile(s) to which you want to assign the Category.
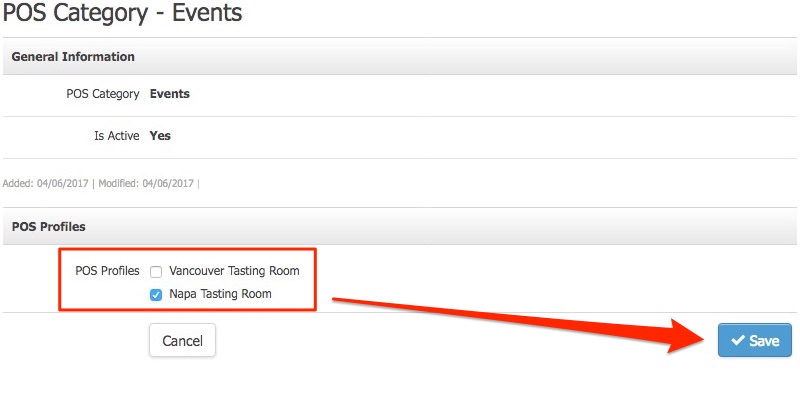
4. Click Save.
Arranging POS Categories
Once you have your POS Categories created and assigned to a POS profile, you can adjust the display order of your POS Categories in the Category drop-down.
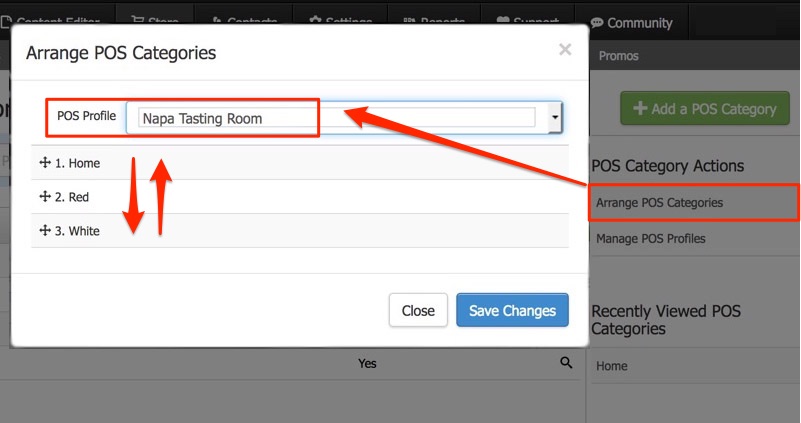
1. Go to Store > Products > POS Categories, and under the POS Categories Actions side menu, select Arrange POS Categories.
2. Select the POS Profile for which you want to adjust the category arrangement.
3. Drag and drop the POS Category names up and down to adjust their display order on the POS.
You will assign products to your POS system in the same fashion as you would for your website, using the categories tab of each product.
1. Start by navigating to Store > Products.
2. Click on the name or Magnifying Glass of the product you wish to assign to POS.
3. Scroll down to the Categories section > Press Edit.
4. Check the boxes next to the categories that you want your product to appear under.
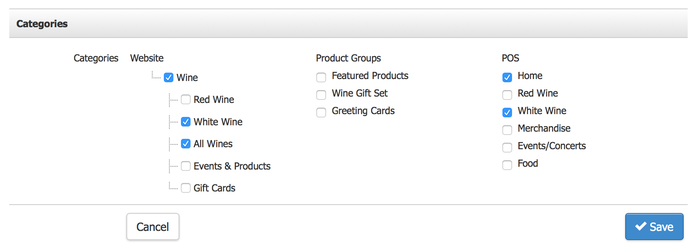
5. Click Save. Your product should now appear under the assigned categories on the POS.
Arranging POS Products
Once you have products assigned to each Category, you can arrange the order in which the products appear on the POS screen.
1. Start by navigating to Store > Products; on the right-hand side, under Add a Product, click Arrange Products.
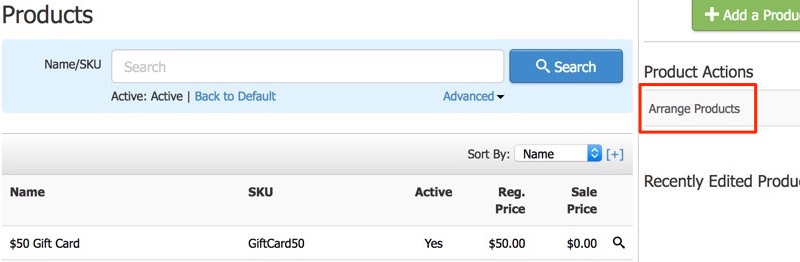
2. From the Category drop-down, scroll down until you find the POS Categories title and choose the Category where the products you wish to rearrange are located.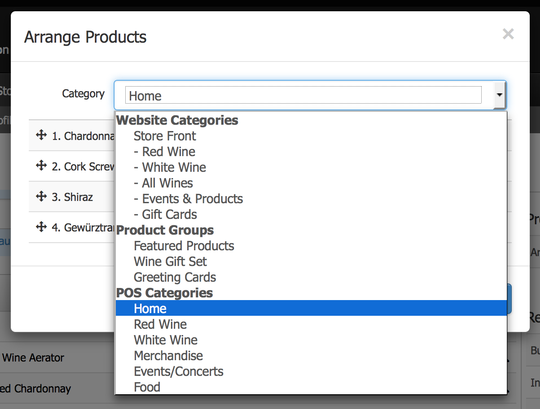
3. You can drag and drop your products in their desired positions.
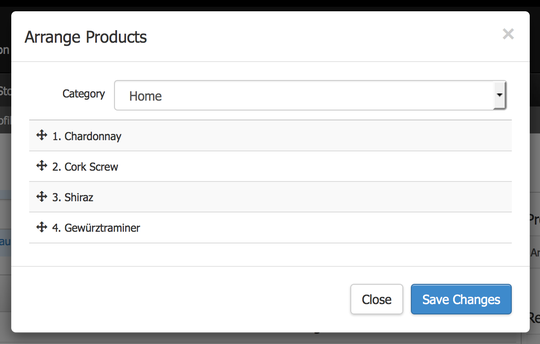
4. Click Save Changes.
POS Product FAQs
- Why can't I see any products on the POS?
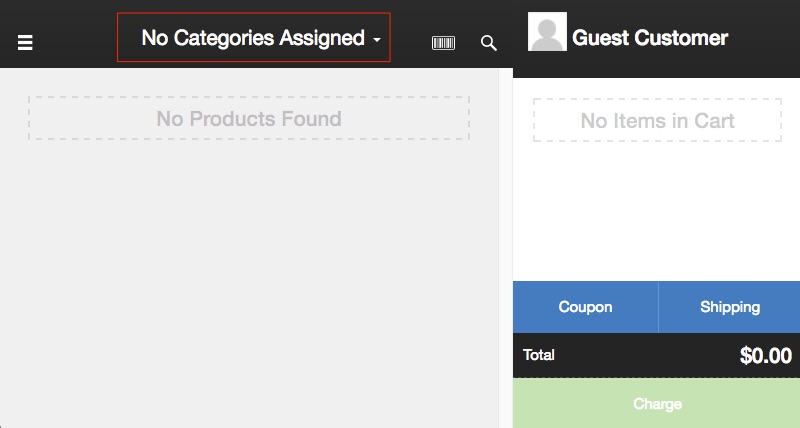
- Why does the POS say "No Categories Assigned?
Why can't I see any products on the POS?
Before products will appear on your POS you must complete 3 steps below (each links to the documentation for that step).
- Add POS Categories.
- Assign your POS Categories to one or more POS Profiles.
- Assign your Products to Categories.
Why does the POS say "No Categories Assigned?
Before the products that you have assigned to categories can appear on the POS you need to assign those categoires to a POS Profile. Once you have one or more categories assigned to your POS (and products are assigned to those categories) then you will start to see products on your POS app. For more information see:
- Assinging POS Categories.
- Assigning Products to POS Categories.