Here you will add different zones (typically numbered), allowing for different rates based on location. A list of provinces or states will pop up depending on which country you live and work in. You can then check these into the appropriate zone.
Add A Shipping Zone
1. Navigate to Store > Shipping > select the Shipping Strategy within which you would like to add a Shipping Zone.
2. From the right-hand Shipping Strategies Properties column, select Manage Shipping Zones.
3. Click [+] Add A Shipping Zone in the Shipping Zones section.
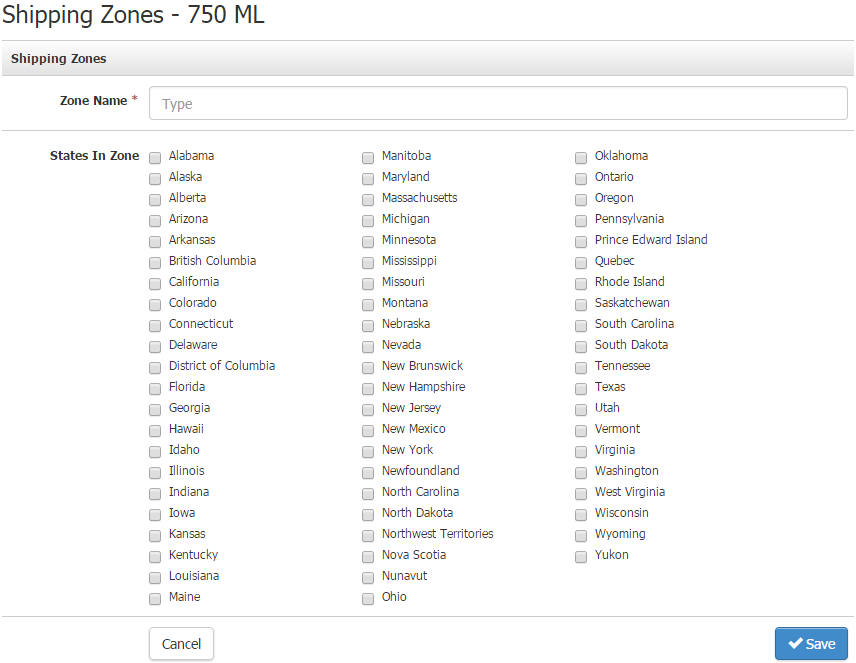
4. Type in a Zone Name, and check the boxes next to the States you want to include in the Shipping Zone.
5. Click Save.
Delete A Shipping Zone
1. Navigate to Store > Shipping > select the Shipping Strategy within which you would like to delete the Shipping Zone.
2. From the right-hand Shipping Strategies Properties column, select Manage Shipping Zones.
3. In the list of Shipping Zones, click the [x] Remove button in the same row as the Shipping Zone you would like to delete. Click OK in the pop-up window to confirm the deletion.
State Profile FAQs
Do I need to have all of my states assigned to a zone?
Yes, all of your States must be assigned a zone.
Can I split a state across multiple zones?
No. If the state that you are working with has different shipping costs across it that you wish to match, you should decide on a price that would work best for all of them.
What happens when a client from a particular zone does not have the shipping type option I have selected for my club runs?
If the client is shipping to a zone that does not have the shipping type selected in the Club Package set up screen, then it will default to the next possible shipping type on the list.