- 28 Oct 2024
- 3 Minutes to read
- Print
- DarkLight
- PDF
Store
- Updated on 28 Oct 2024
- 3 Minutes to read
- Print
- DarkLight
- PDF
Store
Clicking “Store” at the top of your admin panel in WineDirect Classic will launch the Store section. You’ll use the Store section to manage the following:
Sort
The entry-level screen for the Store Editor shows a list of orders with a record count in the lower left-hand corner. If you look to the left-hand side of this screen, you’ll see the date range field about this list. The date range defaults to the most current week, but you can always change it. The following information about your orders is displayed on this screen:
| Order Number | The number of the order. |
|---|---|
| Order Date | The date of the order. |
| Order Status | The status of the order such as:
|
| Order Total | The total amount of the order. |
| Shipping Status or Tracking Information | The shipping status of the order such as:
|
| Payment Status | The payment status of the order such as:
|
| Billing Name and Shipping Name | The last name of the customer. |
In the upper right-hand corner, you can sort this list by Order Number (displays most recent order at the top), Order Date, Order Status, Last Name (Billing), Payment Status, or Total.
Search
This section will allow you to search for orders by:
| Order Type | The type of the order such as:
|
|---|---|
| Order Number | The reference number of the order. |
| First Name (Billing Address or Shipping Address) | The first name of the customer. |
| Last Name (Billing Address or Shipping Address) | The last name of the customer. |
| Order Date Range | The date range of the order. |
| Order Status | The status of the order such as:
|
| Payment Status | The status of the payment such as:
|
Add an Order
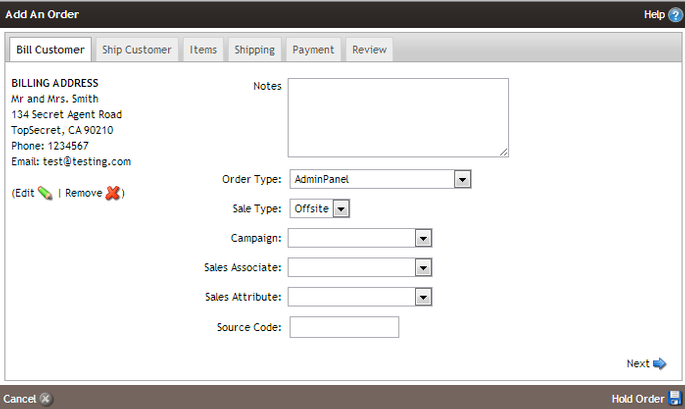
Here you will learn how to add an order and the information you will find on each tab of the order, including the Bill Customer Tab, Ship Customer tab, Items tab, Shipping tab, Payment tab, and Review tab.
- Click on the green Add An Order button.
Bill Customer Tab
1. Search For An Existing Member or Add A New Member.
2. In the Notes section, add notes suitable for the order.
3. In the Order Type dropdown field, select the appropriate choice. Usually, it defaults to AdminPanel if you are working in the backend.
4. Select OnSite (in person) or Offsite for your Sale Type.
5. Select a Sales Associate in the dropdown menu and click Next.
Ship Customer Tab
1. In the Shipping dropdown menu, select Billing Address, New Shipping Address, Pick Up, etc.
(Please note: your shipping usually defaults to Billing Address in the AdminPanel.)
2. Click Next.
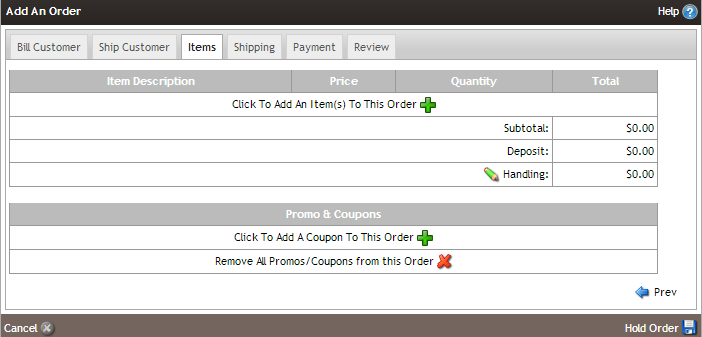
1. Click on the Click To Add An Item(s) To This Order [+] button to add products.
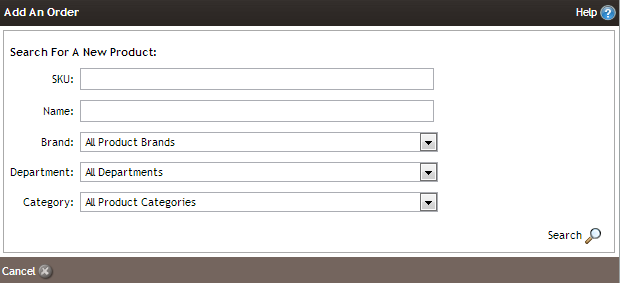
2. Enter the SKU of the product and hit Search.
3. In the Qty (Quantity) column, select how many to add to the order and click Submit and Save.
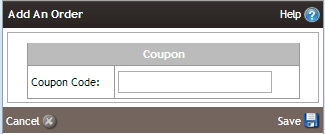
4. In the Promo & Coupons section, click the Click To Add A Coupon To This Order [+] button.
5. Enter the promo coupon code and click Save.
Shipping Tab
1. Your Shipping is usually set as the default.
2. You can set it to a flat rate in the Set Shipping Total To.
3. Ship Date (future) field allows you to select a date for future shipment.
4. Delivery Date field allows you to select a delivery date.
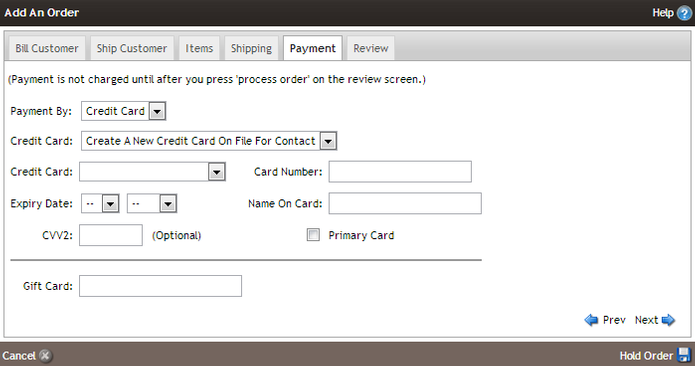
Payment Tab
1. In the Payment By dropdown menu, select the method of payment: Credit Card, Check, Cash, or On Account.
2. If you select Credit Card with a credit card on file, it will default to that.
3. If you need to add a new credit card, click the dropdown in Credit Card and select Create A New Credit Card On File For Customer.
4. Click Next.
Please Note:
To use a gift card as a tender type, enter the gift card code in the gift card field and select Next.
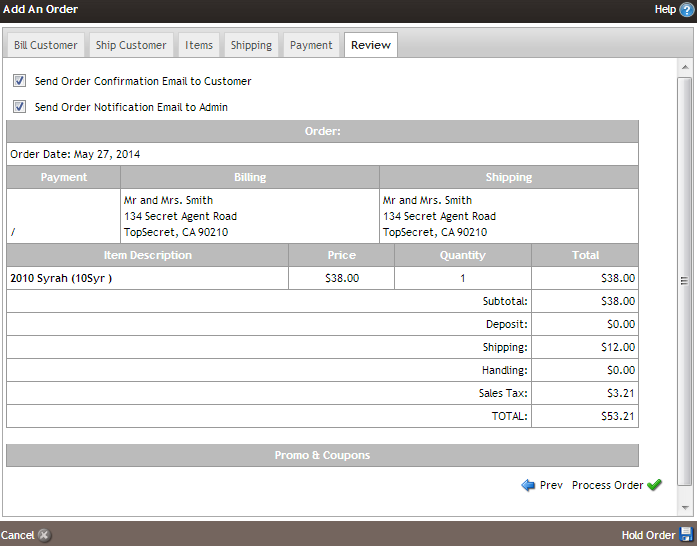
Review Tab
1. The Send Order Confirmation Email To Customer and Send Order Notification Email To Admin are checked by default. You can uncheck those as you see fit.
2. Review your order to see the correct order date, Payment, Billing Address, Shipping Address, Item Description, Price, Quantity, Total, Shipping & Handling, and taxes.
3. If you double-check and review that all information is correct, you can click on the green check mark Process Order button.


