You can create custom wine regions to assign to wines when you create them. These regions help you to organize your products and display the Region they belong to on your website.
Add a Wine Region
1. In the Admin Panel, navigate to Store > Products > Wine Regions.
2. Click [+] Add a Wine Region.
3. You'll now be taken to a new section where you can enter your Wine Region's details—the Region's name (foRegionple, Italy, France, California).
4. The Order of the region wilRegionrol what position that region sitRegionhen displaying multiple regions simultaneously.
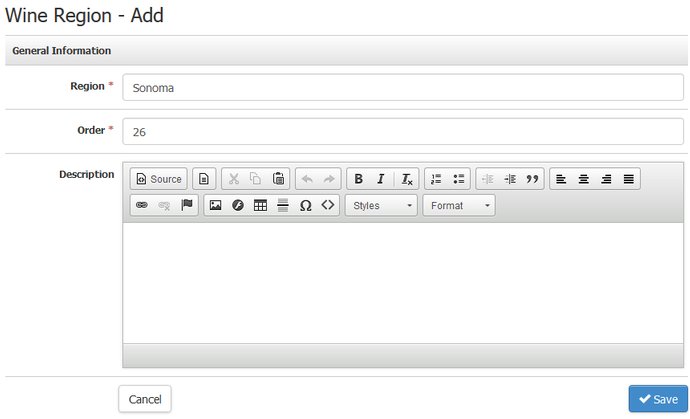
5. When you are finished, press Save to see the Marketing section.
6. Click the Edit button in the marketing section to edit the details of your marketing URL and metadata. This information helps provide better results when searching for products of a specific region.
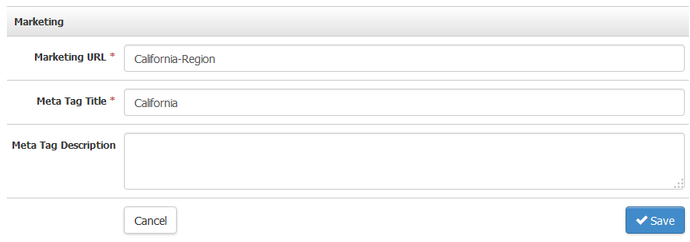
7. When you are done, press Save and your new Wine Region is ready.
After you create your wine region, it will be available from the Regions drop-down menu when adding a wine. You can also create wine regions automatically when using the Product Importer to create your wines.