Product Groups are a great way to display your Featured Wines or Selected Wines on your website.
Adding A Product Group
1. Go to Store and hover over the Product sub-tab.
2. Select Product Group.
4. Click the green [+] Add A Product Group button.
5. In the Group field, enter the name of the product group.
6. In the Code section, you can leave this blank, but if you want this to show up in the mobile POS, please give your product group a code.
7. In the Description field, give your product group a description.
8. The Order field shows what order the product group will be in.

Adding Products to Product Group
1. Once you have completed the Add Product Group form, you can go to Store > Products.
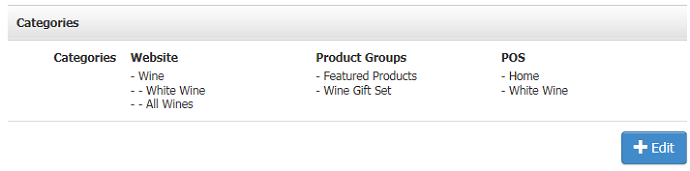
2. Click on the product you want to edit, then scroll down to the Categories section > Edit.
3. Choose the pages you want the Product Group to display on > Click Save.
Adding A Product Group To Your Website
To add a product group to the front end of the website, you must first have the page set up under Content Editor > General Pages.
1. Click on the page you wish to have your product group featured on.
2. Click in the white content box and place your cursor on where you wish your product group to show.
3. Click on the component wheel and select the appropriate ProductGroups:______ (the underline spacing is the name of the product group, for general presentation, the name will be substituted with an underline spacing). Click OK.
For more information on how to insert a component, please visit the Inserting a Component documentation page.