Web Pages
- 19 Jan 2024
- 8 Minutes to read
-
Print
-
DarkLight
-
PDF
Web Pages
- Updated on 19 Jan 2024
- 8 Minutes to read
-
Print
-
DarkLight
-
PDF
Article summary
Did you find this summary helpful?
Thank you for your feedback
Web pages are a way to provide general information about your business or products. Flexible in design, web pages allow for adding content without touching code, linking to external content, designing in Page Builder, or doing it entirely using HTML. This article will outline the different options available on BigCommerce for creating web pages.
How Web Pages Work
Web pages can be created by going to Storefront › Web Pages or the Page Builder menu.
Web pages created in Storefront › Web Pages have several methods for generating specific page types:
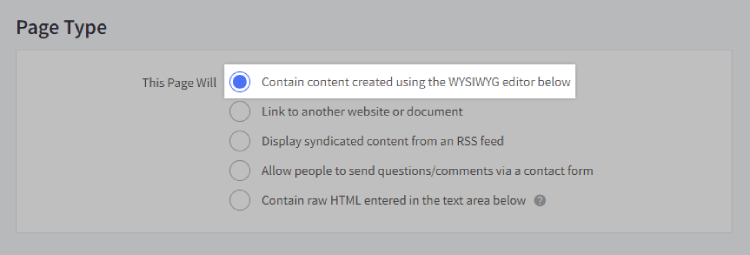
- Contain content created using the WYSIWYG editor below. Display a WYSIWYG editor below to enter your page content. The page may look different on the storefront because the theme applies its styling to each page.
- Link to another website or document — displays fields to enter a link and type in a page name. The page name will show in your store's navigation.
- Display syndicated content from an RSS feed — displays a WYSIWYG editor and an address box to paste the Link to your RSS feed.
- Allow people to send questions/comments via a contact form — displays a WYSIWYG editor and a list of fields you choose to display on the contact form.
- Contain raw HTML entered in the text area below — displays an area to enter raw HTML without theme styling. This means the output will not include things like the store header and footer unless you code them in.
Web pages created in Page Builder are defaulted to Contain content created using the WYSIWYG editor below. This can be changed by going to Storefront › Web Pages and editing the web page.
Requirements
- You must have the Manage Pages, Create Pages, and Edit Pages permissions enabled in your user account.
- Access to Page Builder requires the Store Design and Design Mode permissions enabled in your user account.
- For the WYSIWYG editor to appear when editing a web page, the Yes, enable the WYSIWYG editor option must be enabled. To change this setting, go to Settings › General, click the Display tab, and scroll down to the Control Panel section.
Creating a Web Page with the WYSIWYG Editor
The WYSIWYG Editor helps you to build web pages with a visual editor that automatically generates the necessary HTML code. It's ideal for general information pages such as FAQs or About Us pages.
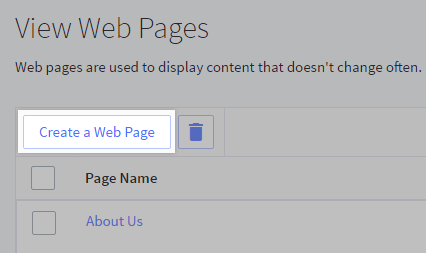
Go to storefront › Web Pages, then click Create a Web Page.
2. For This Page Will, select Contain content created using the WYSIWYG editor below.
3. Name the page. This name will show in your navigation menu.
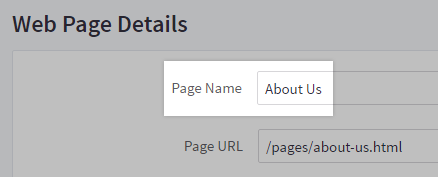
By default, the page URL is generated automatically based on the Page Name, the recommended format for SEO. If you have a specific URL you'd like the page to use, change it in the Page URL. To change the default URL structure, go to Settings › General and click the URL Structure tab.
4. Add any information, messages, or pictures you'd like to include in the Page Content section. The Page Content section has the same functionality as the WYSIWYG Editor on your product pages.

No WYSIWYG Editor? The options Link to another website or document and Contain raw HTML entered in the text area below do not use a WYSIWYG Editor. These require different inputs, as explained below.
5. Save your changes.
Linking to Another Website or Document
This page type is best used if you have a downloadable PDF or documentation or an off-site blog.
1. Select a link to another website or document for this page.
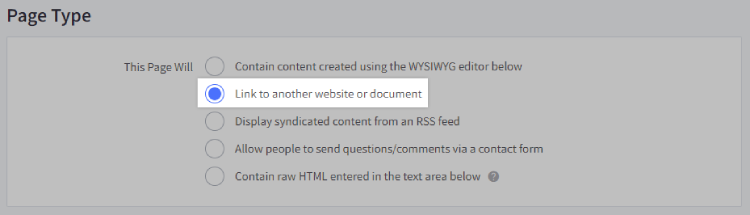
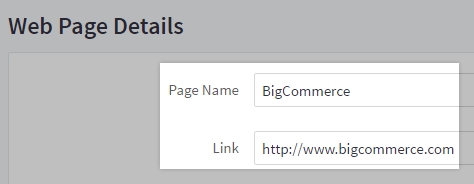
2. Name the page as you want it to appear in the navigation, then enter the URL it will link to. In this example, we're naming the page BigCommerce and linking it to the BigCommerce homepage.
If linking to an internal file or document, upload it via WebDAV, then reference its location in the Link field.
3. Save your changes.
Displaying an RSS Feed
The option to display syndicated content from an RSS feed allows for feeds from third-party or external RSS feeds.
1. Go to Storefront › Web Pages, then click Create a Web Page.
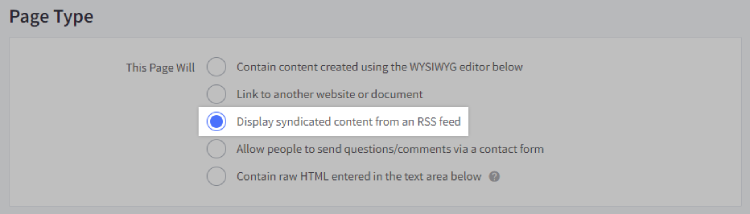
2. select Display syndicated content from an RSS feed for This Page Will.
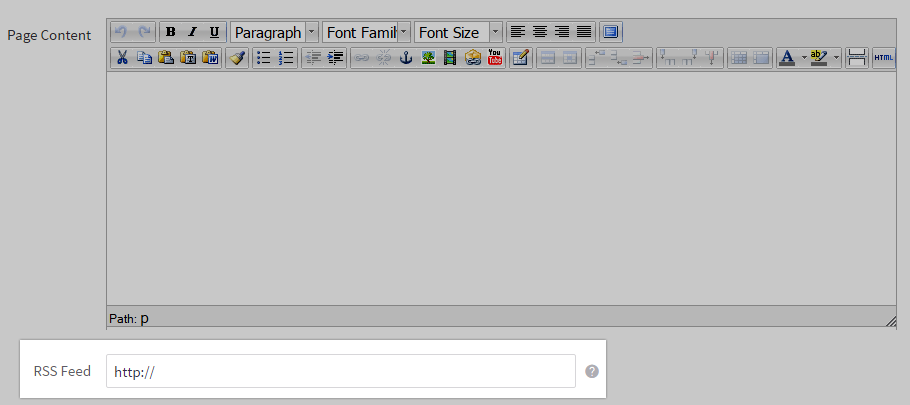
3. Fill in the Page Name field, then paste the feed URL into the RSS Feed field below the WYSIWYG editor.
4. Save your changes.
This will add a link to your site's navigation menu. Clicking the Link will display the feed content.
Creating a Contact Form
BigCommerce provides a basic built-in contact form, but you can embed a third-party contact form if you need custom fields or more advanced features.
See Creating a Contact Form for more details on how to set up a contact form page on your store.
Entering Raw HTML
Selecting the Contain raw HTML entered in the text area below the page type will display a plain text box instead of the WYSIWYG Editor. This page type allows you to input the complete HTML of a page, which will render exactly as it is entered in this text field and will ignore your storefront template. This option is ideal if you transfer web page content from another platform.

Can I import a web page? It is not possible to import a web page directly via WebDAV. You can only import new web page layouts by following the steps in Custom Template Files.
Navigation Menu Options
To display web pages on the theme's navigation, select the Yes option to show this web page on the navigation menu. In most themes, this will show the page's name in the header, side navigation, and footer. If left unchecked, the page will still be accessible to anyone with the direct URL, but it will not be visible in the navigation menu.
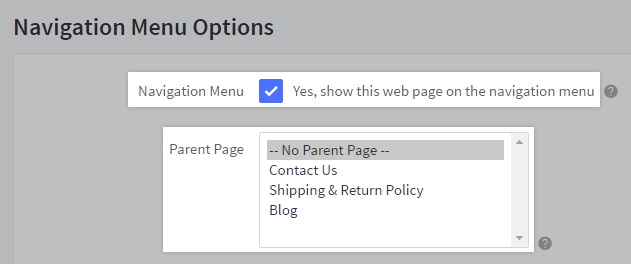
If the page will be a sub-page, you can select its parent web page from the available selection listed in the Parent Page.
Web pages only show one level. In your store's navigation, it will only display parent pages. A "sub-page" is accessible from its parent page but will not appear in storefront navigation as a dropdown menu.
ADDING PAGE LINKS TO YOUR CATEGORY Mdropdownur theme does not display web pages in the navigation by default; you can add your pages as category links using the following steps.
1. Create a category and give it the name you want to appear in the navigation, then copy the new category's URL.
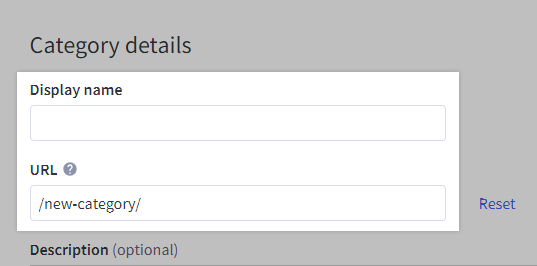
2. Create a 301 redirect with the following information:
- Old URL — Paste the URL you copied when creating the new category.
- Redirect Type — Select Dynamic Link from the dropdown.
- New URL — Click here to choose a dropdown, category, brand, or web page Link and select the desired page from the Pages tab.

Visitors who click the Link to the new category in your store's navigation will be taken to the associated web page.
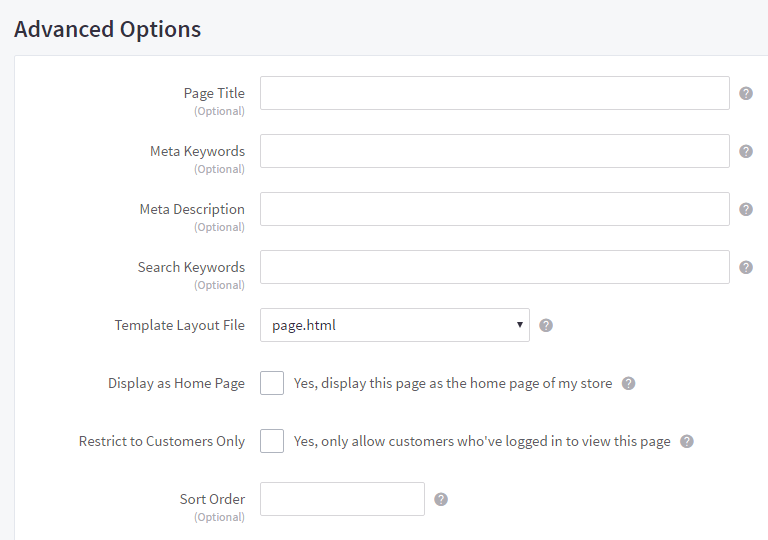
Advanced Options
All page types will include advanced options such as metadata, layout templates, and whether the page is only visible to customers signed into their accounts.
Remember best practices on length and structure when authoring details, such as the page title and meta description. See our article on SEO Fields for industry-standard advice and tips. The following page types do not include metadata options:
- Contains raw HTML entered in the text area below
- Link to another website or document
PAGE TITLE
This field specifies a page title to be used as the HTML title tag. Your page title should include keywords people might search for to find this page. Leave this field blank to use the page's name as the title.
META KEYWORDS
This field specifies the keywords that will appear in the HTML meta-keywords tag. Enter terms separated by commas. The use of meta keywords as a ranking signal by search engines has been largely deprecated over the past several years. Generally, you don't need to enter any data for meta keywords.
META DESCRIPTION
This field specifies the description in the HTML meta description tag. You'll want to have a clear and concise meta description. While not specifically a search engine ranking signal, it's still important that the descriptive text below your Link be enticing to searchers.

SEARCH KEYWORDS
Not to be confused with meta keywords, search keywords are used when customers search from your storefront. While search keywords are optional, they assist people when searching for your web pages. Commas must separate multiple keywords.
TEMPLATE LAYOUT FILE
Advanced users can create an alternate template layout file instead of the default one. If you've done this, you can select the layout file here.
DISPLAY AS HOME PAGE
If you check this box, the web page will be displayed as your store's homepage. When this box is not checked, the default homepage will be displayed, containing panels for new and featured products and the Carousel.
RESTRICT TO CUSTOMER ONLY
If you check this box, the web page will only be accessible to customers logged in to their storefront account.
SORT ORDER
This is the order in which the web page will be displayed in the navigation menu. A lower number will move it up in the navigation, while a higher number will move it down. Negative numbers may be used.
Creating a Web Page with Page Builder
Page Builder allows you to drag and drop content onto pages like text blocks, images, videos, banners, carousels, buttons, and blocks of custom HTML. This enables you to showcase your products in a visually rich way. In-Page Builder, you can customize existing web pages or create a new page using the following steps.
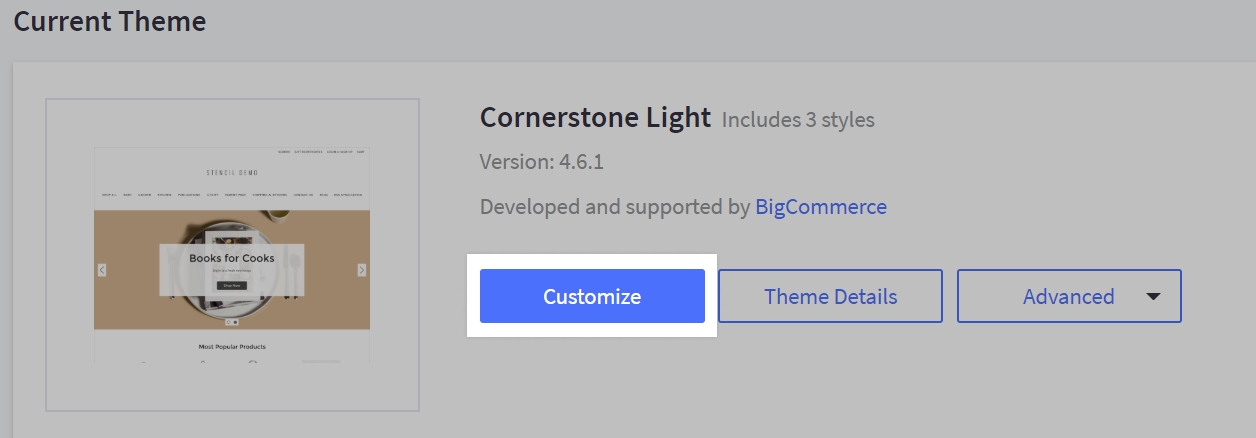
1. Go to Storefront › Themes and click Customize to launch Page Builder.
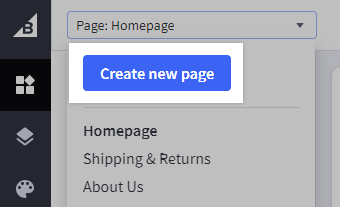
2. Open the Page dropdown in the upper left and click Create New Page.
3. Namdropdownge and select the Navigation Menu Options. Customize the Page URL if desired.
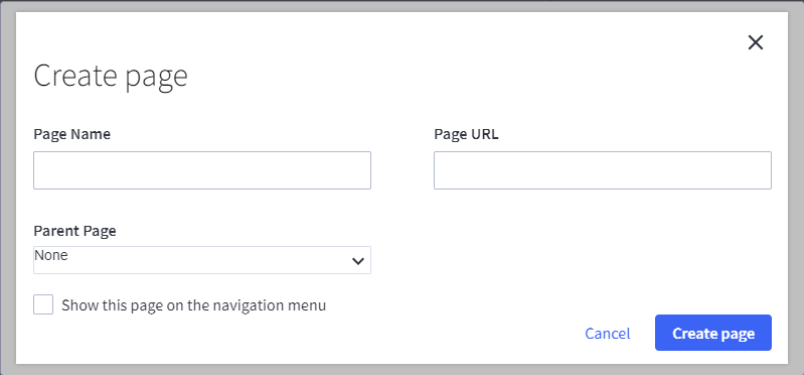
4. Click Create Page. Pages are created immediately, but elements added in the Page Builder Design tab will not be applied to the live storefront until you click Publish.
Deleting Web Pages
To delete web pages, go to Storefront › Web Pages and check the box next to the page you want to delete. Click the delete button (trash can icon) and OK in the confirmation pop-up.
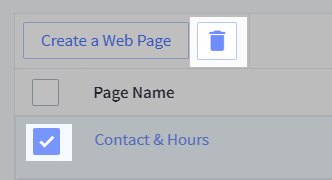
Be careful! Deleting a parent web page will automatically delete any child web pages. Ensure to "unnest" any child web pages you want to keep beforehand. Deleted web pages cannot be restored in the control panel — deleting is permanent. We recommend backing up your web pages manually or through a backup-and-restore app like Rewind.
Was this article helpful?